Retiming Clips in Final Cut Pro
Slow Down, Speed Up and Set Variable Speed Rates
Re-timing video clips is an essential tool in video editing. Timelapses, slow motion, speed ramps and more can really help you set the pace of your video, and keep your audience more engaged. In this article, we’ll take a look at re-timing clips in Final Cut Pro to take your next project up a level. To learn to clips in Final Cut Pro, check out the video below, or keep scrolling for a full step by step guide.
Speeding Up Clips in FCPX
Speeding up you video clips in Final Cut Pro is a great way to make a boring shot more exciting, or even create a timelapse from a video clip. To speed up a video clip in your project, follow the steps below:
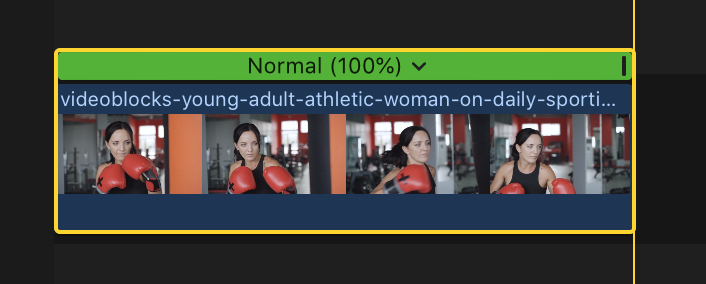
Select the clip in your timeline
Open the retime menu at the bottom of the viewer window

Hover over fast, and select one of the speed presets

Alternate Method
Select the clip in your timeline
Use the keyboard shortcut Command + R to bring up the Retime Menu
Click the arrow in the retime bar
Select one of the included speed presets, or drag the re-time handle at the end of the clip

You can also select the Custom option in the retime bar to manually enter the speed, set your clip speed by entering a time duration, or even reverse your clip.
Slowing Down Clips in FCPX
To slow down the clips in your timeline, the original footage has to be recorded at a higher frame rate than your project. This ensures you will have the necessary frames available for smooth playback. To slow down your clips, follow these steps.
Automatic Speed
Select the clip in your timeline
Open the re-time menu at the bottom of the viewer window
Select Automatic Speed

Final Cut Pro calculates the frame rate of your source clip, and automatically adjusts it to the project frame rate. For example, a clip recorded at 60 FPS in a 24 FPS project, can be slowed all the way down to 40 percent, while still retaining necessary frames for smooth playback.
Manually Setting Speed
To manually set the speed of your clip, while retaining smooth playback, you have to calculate the available frames. To calculate this, take you project frame rate, multiply it by 100, and divide it by your clip frame rate. For example, let’s take a look at a clip filmed at 120 FPS in a 24 FPS project.
Multiply your Project frame rate by 100
24 x 100 = 2400
Divide the result by your clip frame rate
2400/120 = 20
Bring up the re-time bar above your clip, and select Custom

Enter 20 in the Speed rate Box

The speed of the clip in our example is can be slowed all the way down to 20 percent, while still retaining all the necessary frames for smooth playback in a 24 FPS project.
Speed Ramping in FCPX
Speed Ramping clips allow you to set more than one speed in a single clip. Using this method also adds a speed transition between the speed segments to smooth out the speed change. To add a Speed Ramp to your video clip, follow the steps below:
Select the clip in your timeline, and position the playhead or the skimmer at the frame where you want to begin a new speed segment
Open the re-time menu below the viewer and choose blade speed (Shift + B)

The video clip is divided into two speed segments
Select one of the included speed presets for the speed segments, or drag the right edge of the speed segment in the retime editor

You can also modify the transition segment to create smooth adjustments from one speed to another
For more information and examples, make sure to watch the video at the start of this article.
Video Examples
As you can see, you have a number of options available in Final Cut Pro for retiming clips. You can speed up, slow down and even set variable speeds for you clips right in Final Cut Pro. And as demonstrated in the video, retiming clips in Final Cut Pro is intuitive and simple. This technique is an amazing tool to help you set the pace of your next project, and MAKE BETTER VIDEOS!